

WENDELL BARCO PLASTERING BLOG
What Comes After Drywall Installation? Your Step-by-Step Finishing Checklist
Drywall installation is a major milestone in any residential or commercial construction project. Once the panels are secured and the space finally starts to resemble finished rooms, many homeowners assume the hardest part is over. In reality, what comes after drywall installation is just as important as the installation itself. The finishing process determines how smooth your walls look, how long they last, and how professional the final result appears.
At
Wendell Barco Plastering, we help homeowners and businesses throughout Portsmouth, VA move seamlessly from
drywall installation to beautifully finished interiors. This step-by-step finishing checklist will walk you through what happens next, why each step matters, and how professional drywall and painting services can save you time, money, and frustration.
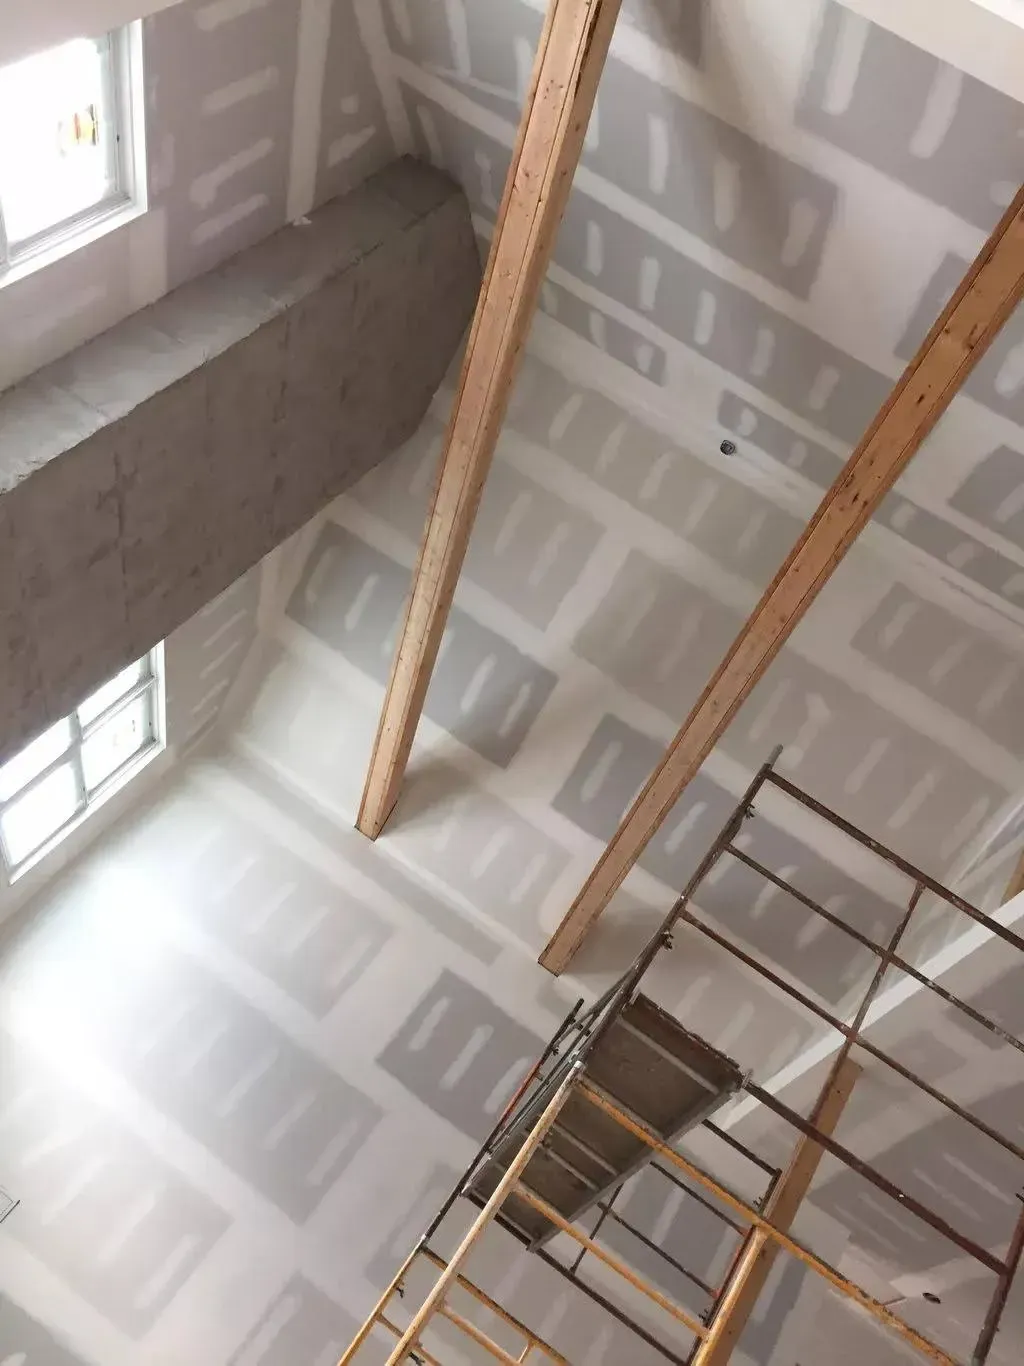
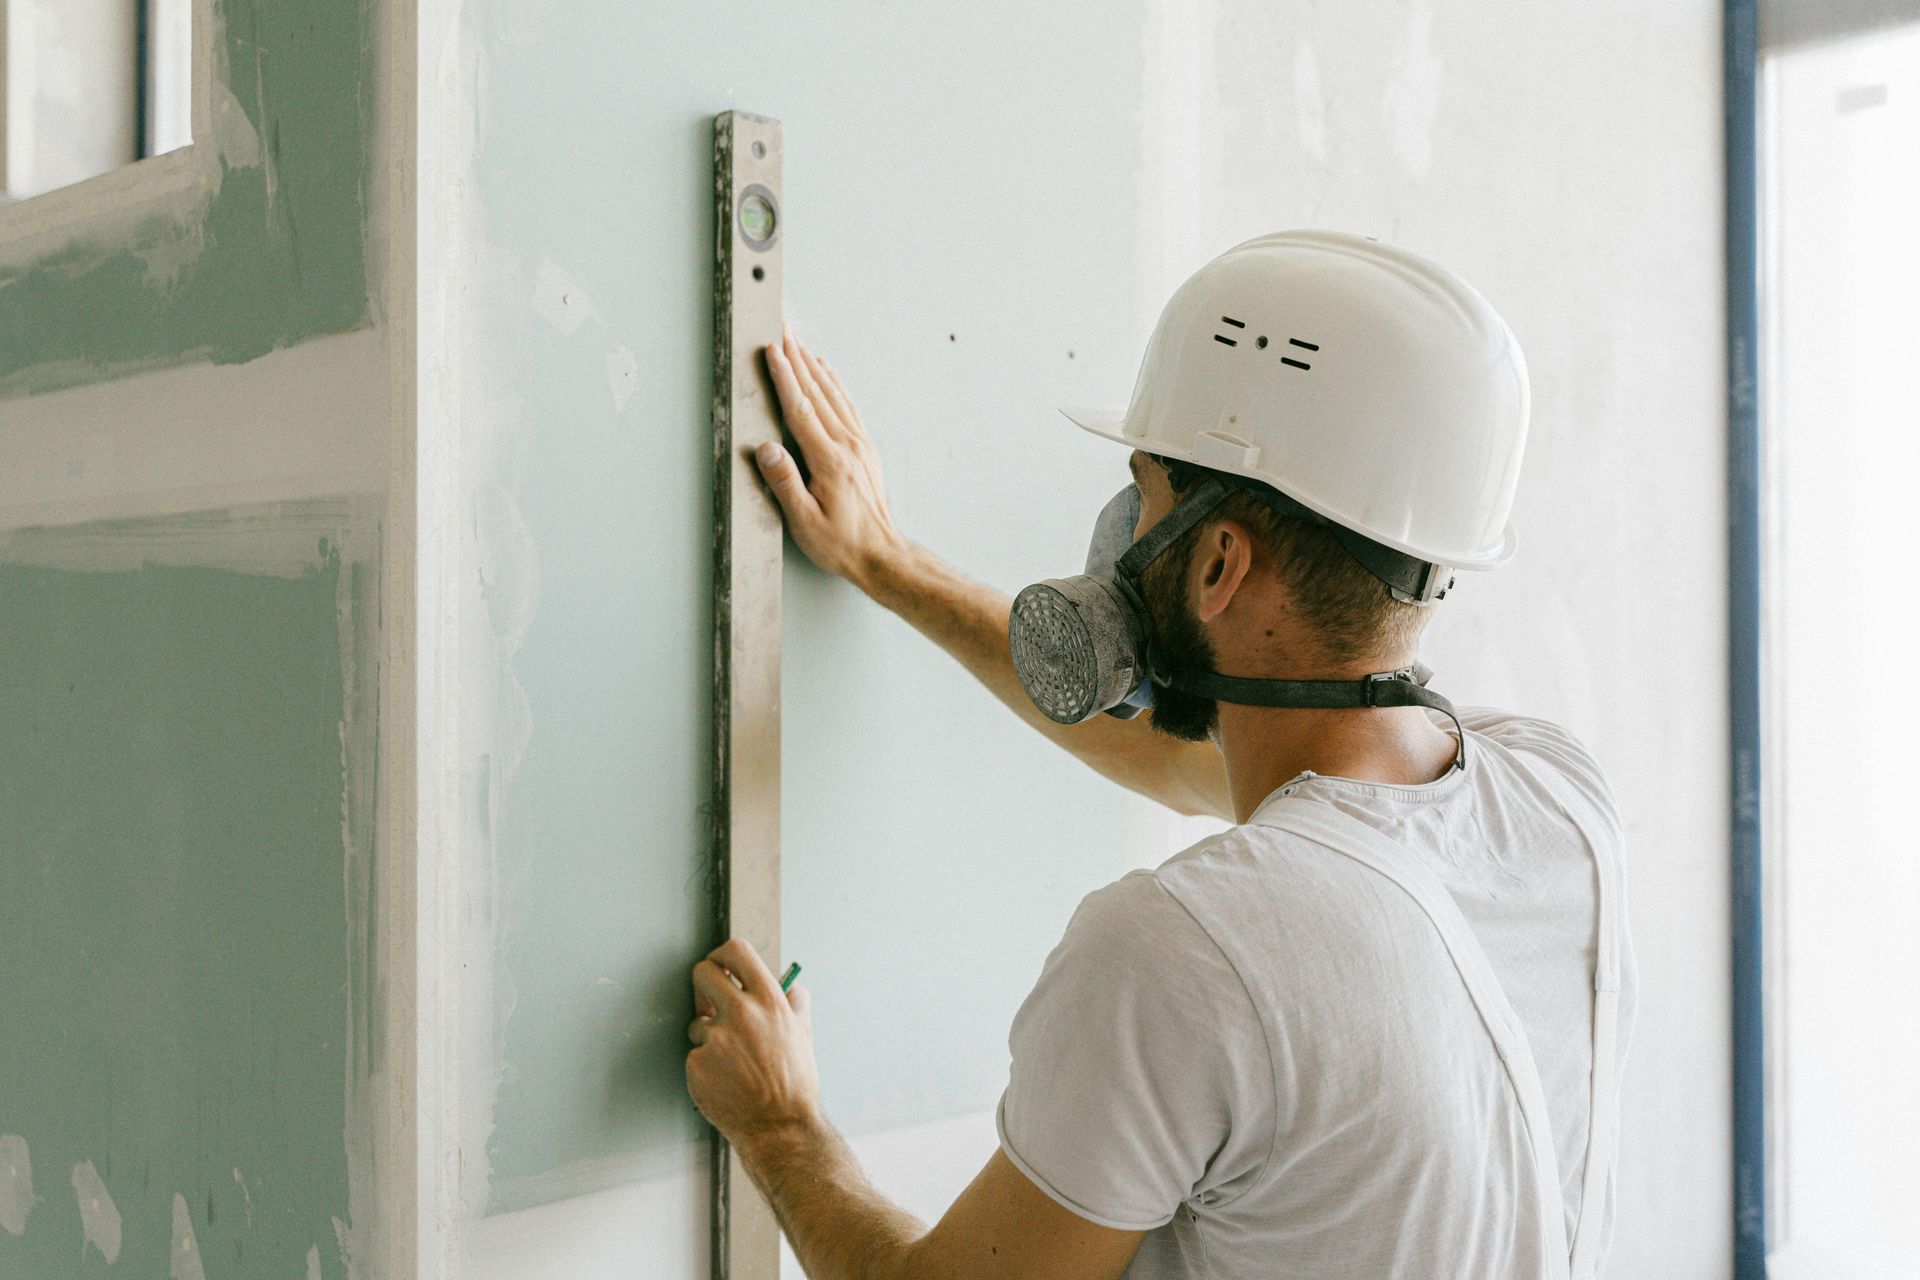
Inspecting the Drywall Installation for Quality and Consistency
Before any finishing work begins, the drywall installation must be carefully inspected. This step ensures that the panels were installed correctly and that there are no underlying issues that could affect the finished surface.
Professionals look for uneven seams, loose screws, cracked panels, or improperly aligned edges. Even small gaps or raised fasteners can show through paint if they are not corrected early. This inspection stage is also when moisture damage, framing issues, or structural movement can be identified and addressed.
Taking the time to verify the quality of the drywall installation creates a strong foundation for every step that follows. Skipping this inspection often leads to visible flaws later, requiring costly repairs after painting is complete.
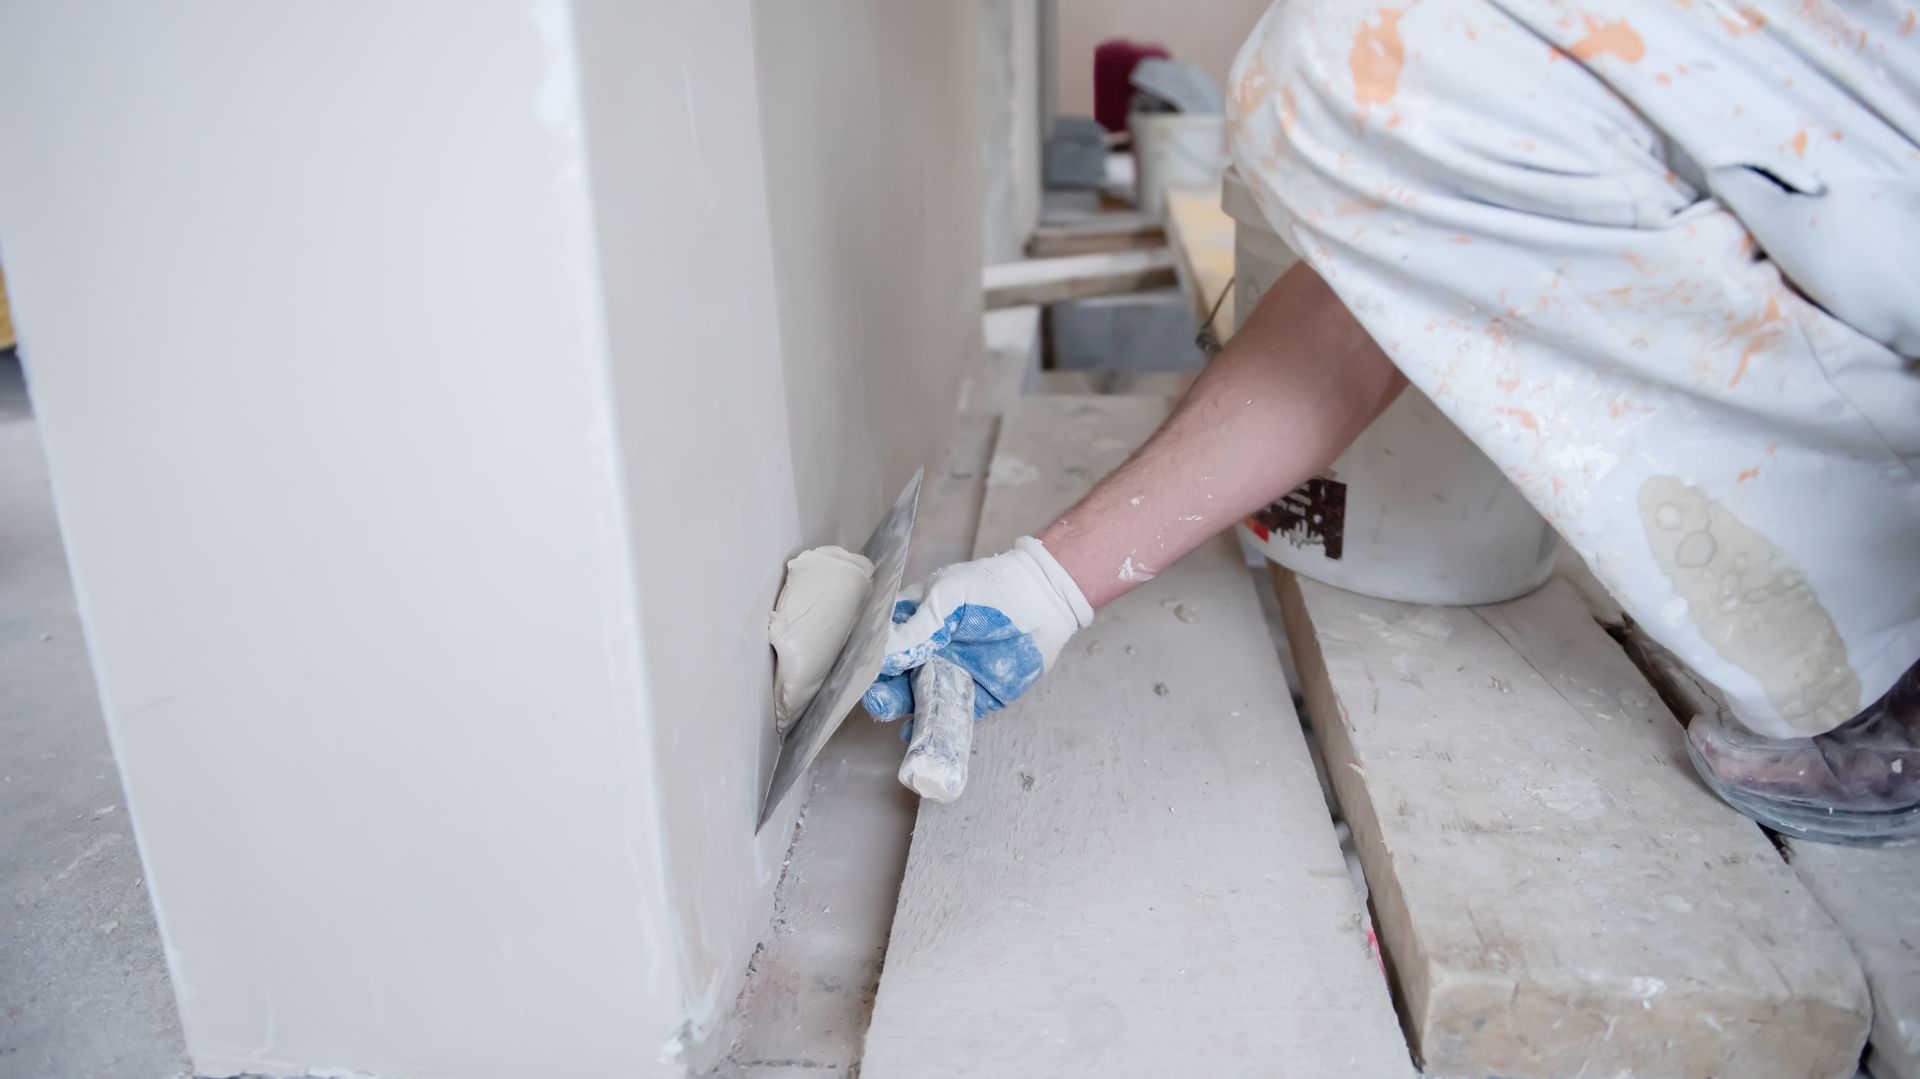
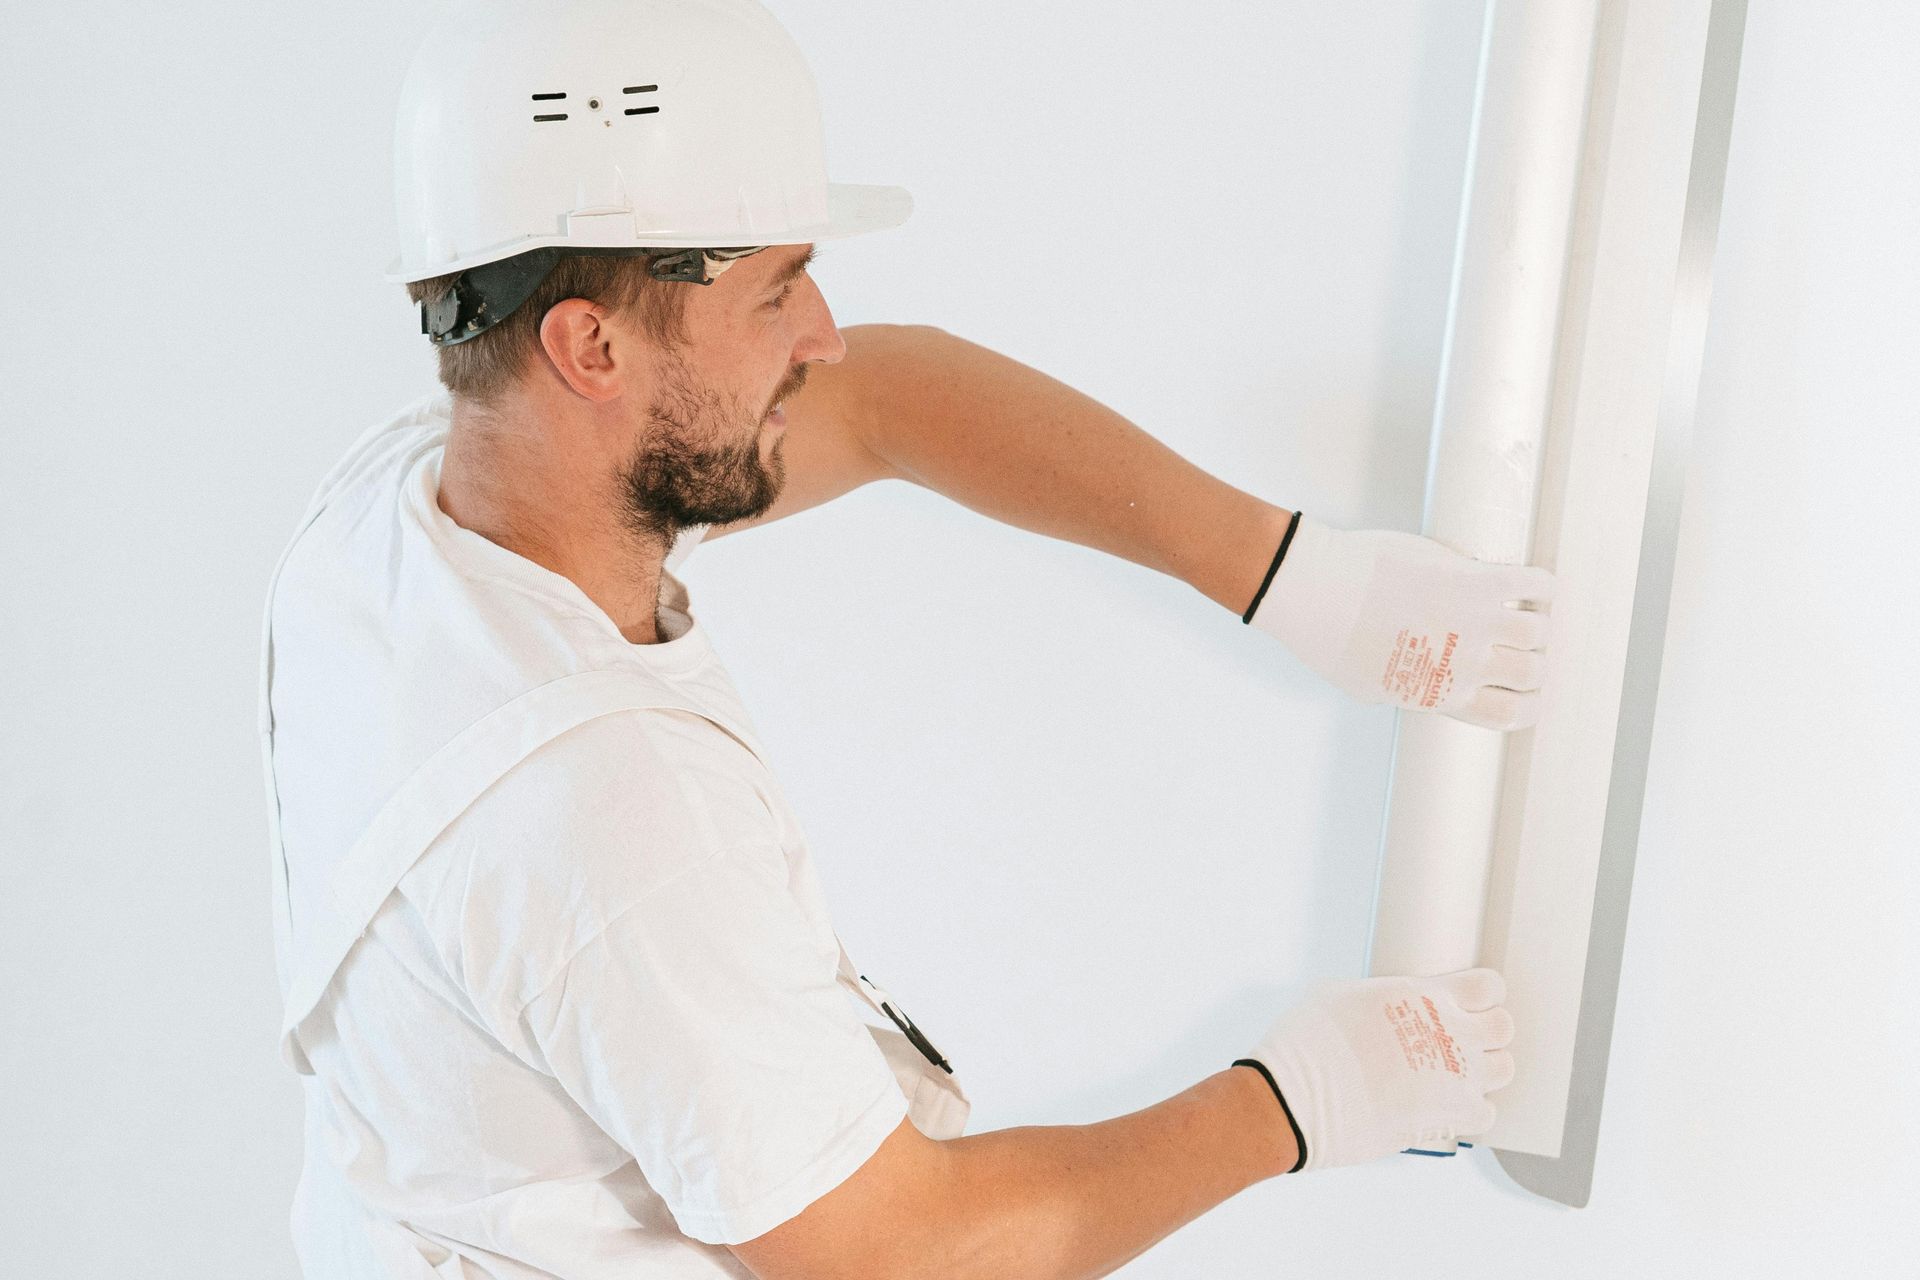
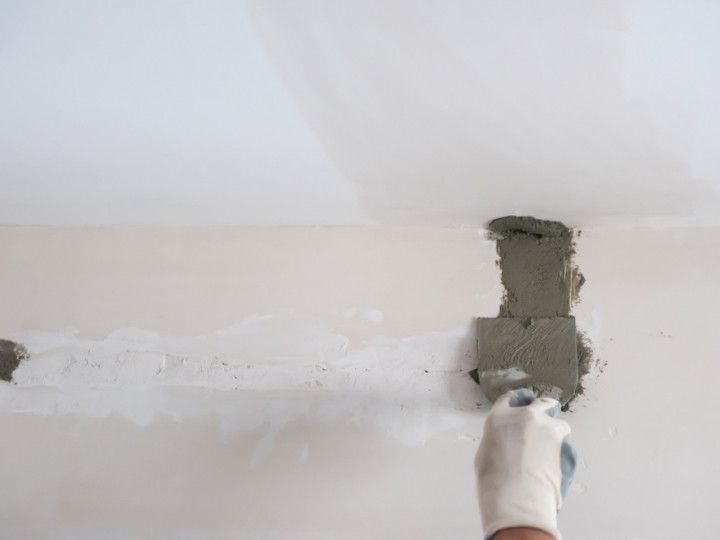
Taping and Mudding the Seams for a Seamless Surface
Once the drywall installation passes inspection, the finishing process moves on to taping and mudding. This step is what transforms individual drywall panels into a smooth, continuous wall.
Joint tape is applied over seams where drywall panels meet, followed by layers of joint compound, commonly referred to as “mud.” Each coat must be applied evenly, allowed to dry fully, and then lightly sanded before the next coat is added. Typically, two to three coats are required to completely hide seams, corners, and fastener heads.
This stage requires patience and skill. Uneven mud application or rushed drying times can result in ridges, bubbles, or visible lines. Professional drywall contractors understand how to control thickness, feather edges properly, and create a flat surface that looks flawless once painted.
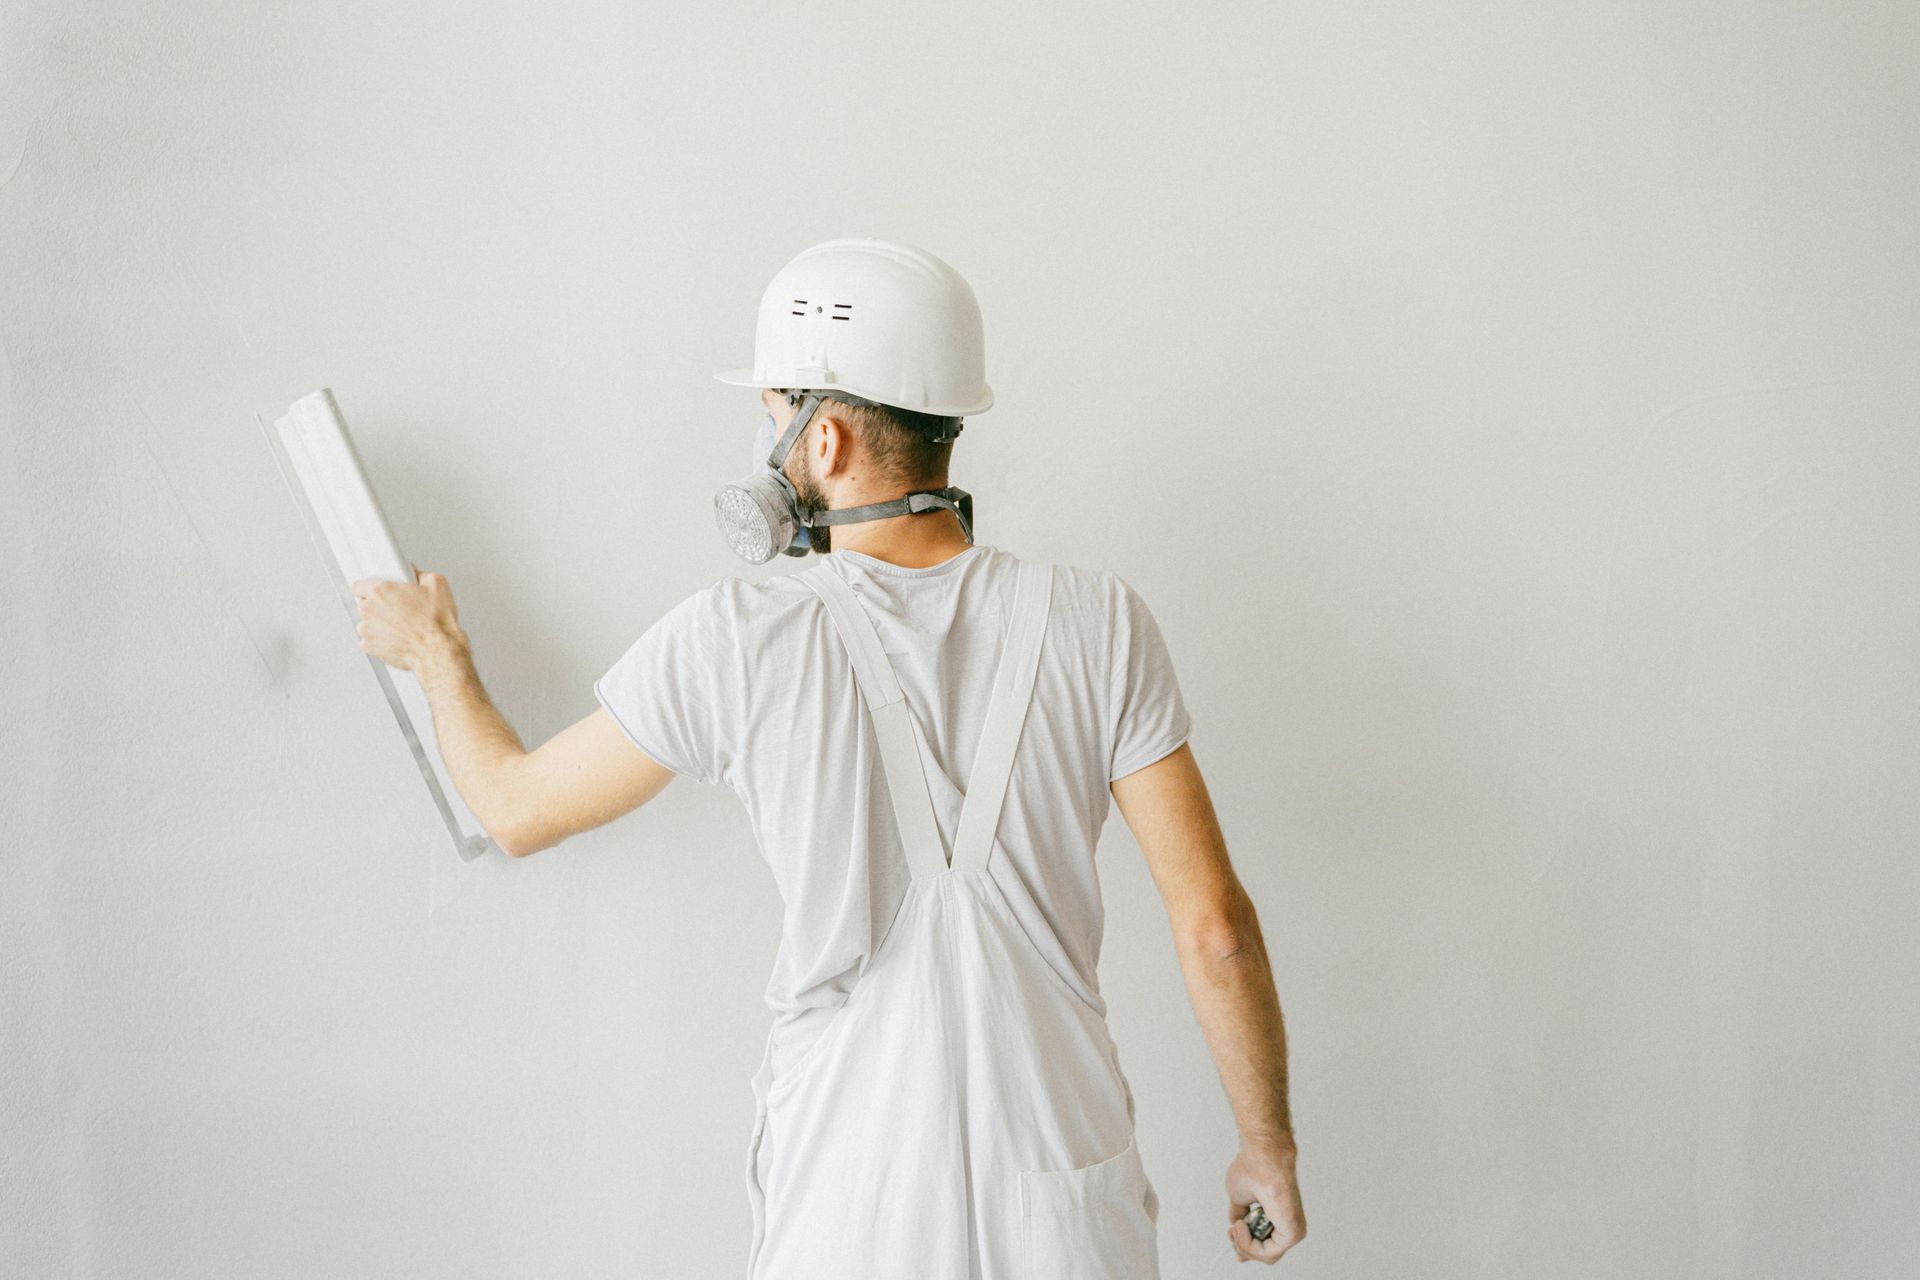
Sanding and Surface Preparation Before Painting
After the final coat of joint compound has dried, sanding becomes the focus. Sanding removes high spots, smooths transitions, and prepares the surface for primer and paint.
This step is more detailed than many people expect. Over-sanding can expose tape or damage the drywall paper, while under-sanding leaves noticeable imperfections. The goal is a surface that feels smooth to the touch and looks uniform under bright lighting.
Dust control is also critical during sanding. Professionals use proper equipment and cleanup methods to prevent drywall dust from spreading throughout the home. Once sanding is complete, walls are wiped down or vacuumed to ensure no residue interferes with primer adhesion.
Thorough surface preparation is one of the most important steps after drywall installation, as it directly impacts how paint will look and perform over time.
Priming the Walls for Durability and Color Accuracy
Priming is a step that should never be skipped after drywall installation. Drywall and joint compound absorb paint differently, which can lead to blotchy finishes and uneven color if primer is not applied.
A quality drywall primer seals the surface, creates consistent absorption, and improves paint adhesion. It also helps highlight any remaining imperfections that may need touch-up sanding or additional compound before final painting.
In some cases, specialized primers are used to address specific needs, such as moisture resistance, stain blocking, or enhanced durability. Choosing the right primer ensures the final paint finish looks smooth, vibrant, and professional.
Priming sets the stage for long-lasting results and helps protect your walls from wear, moisture, and everyday use.
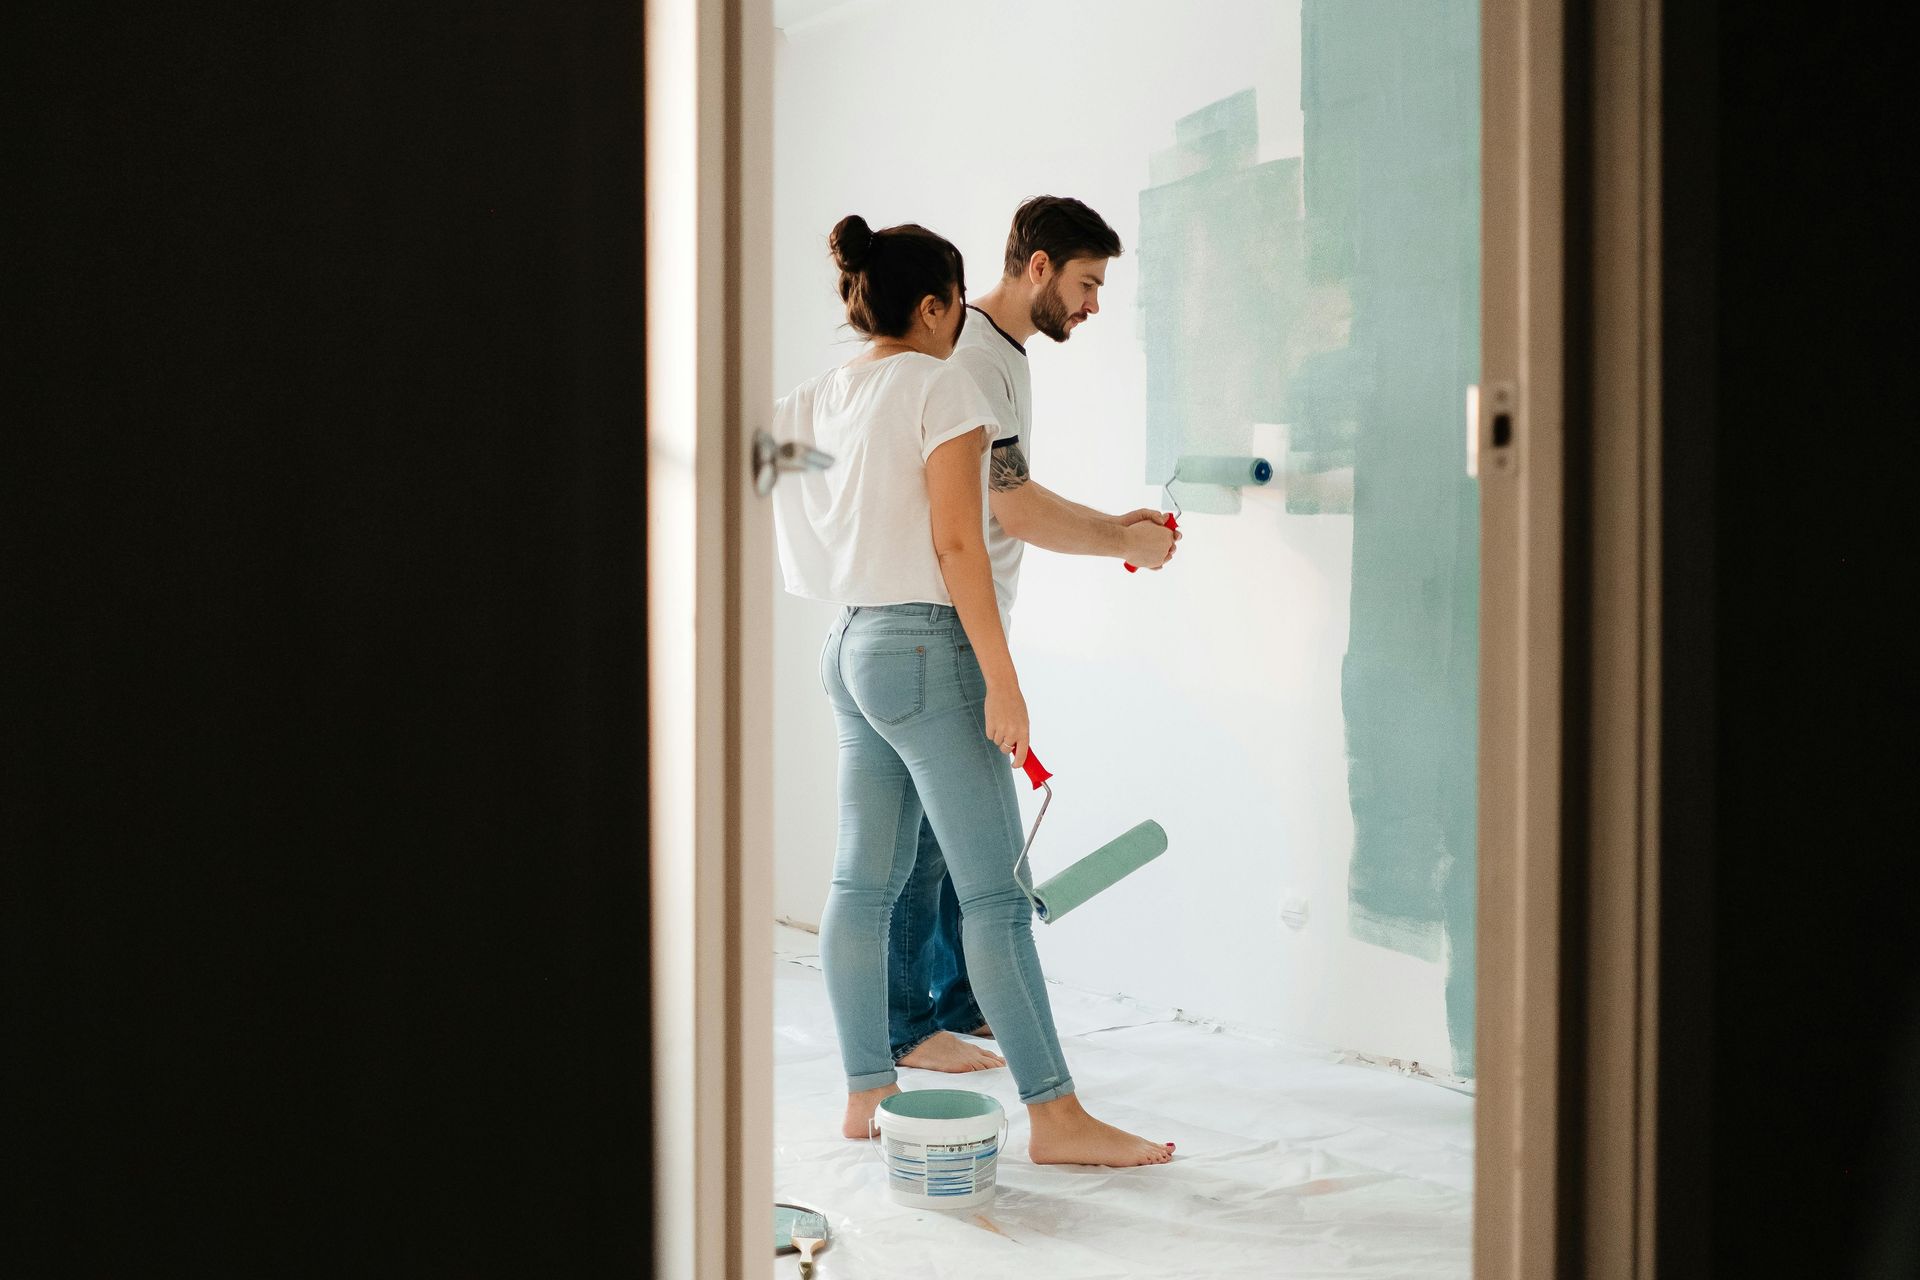
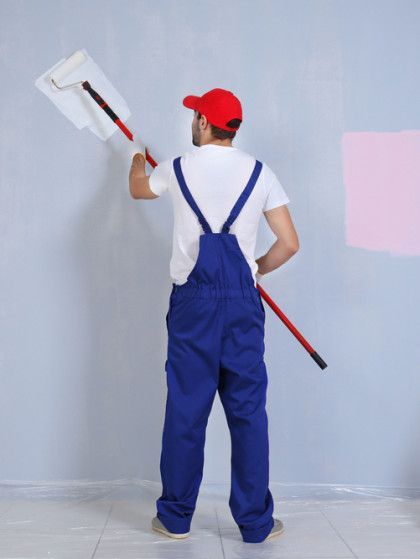
Painting and Final Touches That Complete the Space
The final stage after drywall installation is painting and detail work. This is where the room truly comes to life and reflects your personal style or brand identity.
Professional painters apply paint evenly using the proper techniques for walls, ceilings, and trim. Multiple coats may be necessary depending on color choice, lighting conditions, and surface texture. Attention is also given to clean lines, consistent coverage, and a smooth finish free from drips or roller marks.
Once the painting is complete, final touch-ups are performed. This includes inspecting corners, edges, and high-visibility areas, as well as reinstalling fixtures, outlet covers, and trim. The result is a polished, finished space that looks cohesive and professionally completed.
When handled by experienced drywall and painting specialists, this final step enhances both the appearance and value of your property.
Why Professional Finishing After Drywall Installation Matters
While it may be tempting to rush through finishing or attempt it as a DIY project, professional finishing services make a noticeable difference. Experienced contractors understand how each step affects the next and how to avoid common mistakes that compromise the final look.
Wendell Barco Plastering delivers a comprehensive service experience by pairing specialized drywall installation with highly detailed finishing and painting. Our team ensures every surface is smooth, durable, and ready to stand the test of time. From small residential repairs to large commercial projects, we deliver results that reflect craftsmanship and attention to detail.
Finish Your Drywall the Right Way. Contact Wendell Barco Plastering Today!
If your project is complete or nearing completion and you’re wondering what comes after drywall installation, let the professionals handle the finishing. Wendell Barco Plastering proudly serves homeowners and businesses in Portsmouth, VA, providing high-quality drywall and interior painting services from start to finish.
Call us today at
(757) 935-7297 to schedule a consultation and discover how we can bring your walls to life with expert finishing and flawless results.
FAQs
How long does finishing take after drywall installation?
Finishing typically takes several days, depending on the size of the project. Joint compound requires drying time between coats, and sanding, priming, and painting add additional time.
Can I paint immediately after drywall installation?
No. Drywall must be taped, mudded, sanded, and primed before painting. Skipping these steps will result in visible seams and uneven paint absorption.
Why does drywall need primer before painting?
Primer seals the drywall and joint compound, ensuring even paint coverage and better adhesion. Without primer, paint can appear patchy or dull.
What happens if seams are not finished properly?
Poorly finished seams can become visible over time, especially under bright light. They may also crack or separate, requiring repairs later.
Should I hire a professional for drywall finishing and painting?
Yes. Professional finishing ensures smooth walls, durable results, and a high-quality appearance that is difficult to achieve without experience and proper tools.
SHARE THIS ARTICLE
READ OUR RECENT POSTS