

WENDELL BARCO PLASTERING BLOG
Drywall Ceiling Repair: Fixing Cracks, Holes, and Sagging Issues
A flawless ceiling may not be the first thing you notice in a room, but a cracked, drooping, or hole-ridden one? That’s hard to miss. Whether it’s from a leaky roof, an enthusiastic upstairs toddler, or good old gravity doing its thing, ceiling issues are more common than you’d think. Fortunately, drywall ceiling repair is totally doable — and more importantly, fixable without having to rip your entire ceiling down.
In this guide, we’ll break down everything you need to know about tackling drywall ceiling problems. From understanding what’s causing the damage to learning how repairs are done (and when to call in the pros), we’ve got your back — and your ceiling.

What Causes Drywall Ceiling Damage?
Before you grab the spackle and ladder, it helps to understand what you're dealing with. Not all ceiling damage is created equal, and different issues require different fixes.
Here are the usual suspects:
- Water Damage: Leaky roofs, burst pipes, or overflowing bathtubs from the floor above can soak drywall and cause sagging, stains, and mold growth.
- Structural Shifts: Houses settle over time. When they do, it’s not uncommon to see ceiling cracks — especially near corners or joints.
- Improper Installation: If the ceiling drywall wasn’t properly secured or the wrong thickness was used, you might end up with sagging or popping screws.
- Accidental Impact: Ever try to poke your attic door open with a broom and miss? No judgment — ceiling holes happen.
- Humidity and Temperature Changes: Especially in older homes or those without good ventilation, these fluctuations can cause joints to crack or tape to peel.
Understanding the “why” behind the damage helps make sure you're not just covering up a bigger problem. Patch the hole, sure — but fix the leak too.
Identifying the Type of Ceiling Damage
Every ceiling flaw has a story. Whether your ceiling is whispering “minor cosmetic fix” or screaming “emergency,” here’s how to tell what you’re looking at.
Common Types of Drywall Ceiling Damage:
- Hairline Cracks: These are thin and usually harmless, often from settling. They’re annoying but mostly cosmetic.
- Wide or Jagged Cracks: Might indicate structural movement or poor taping. Worth a second look — or a pro inspection.
- Nail or Screw Pops: Little bumps or holes where fasteners have worked loose. Usually not a big deal, but worth fixing properly to prevent return appearances.
- Water Stains: Yellow or brown discoloration means there was (or still is) moisture. Find the source before you repair.
- Sagging Drywall: The ceiling bows downward, often due to water weight or poor installation. Not a good sign — don’t ignore this one.
- Holes (Small or Large): From a poorly placed footstep in the attic or an overenthusiastic ceiling fan install. The good news: holes are fixable with the right patch and technique.
If you’re still unsure, tap the area with your knuckles. Hollow sounds may point to delamination or moisture damage under the surface.
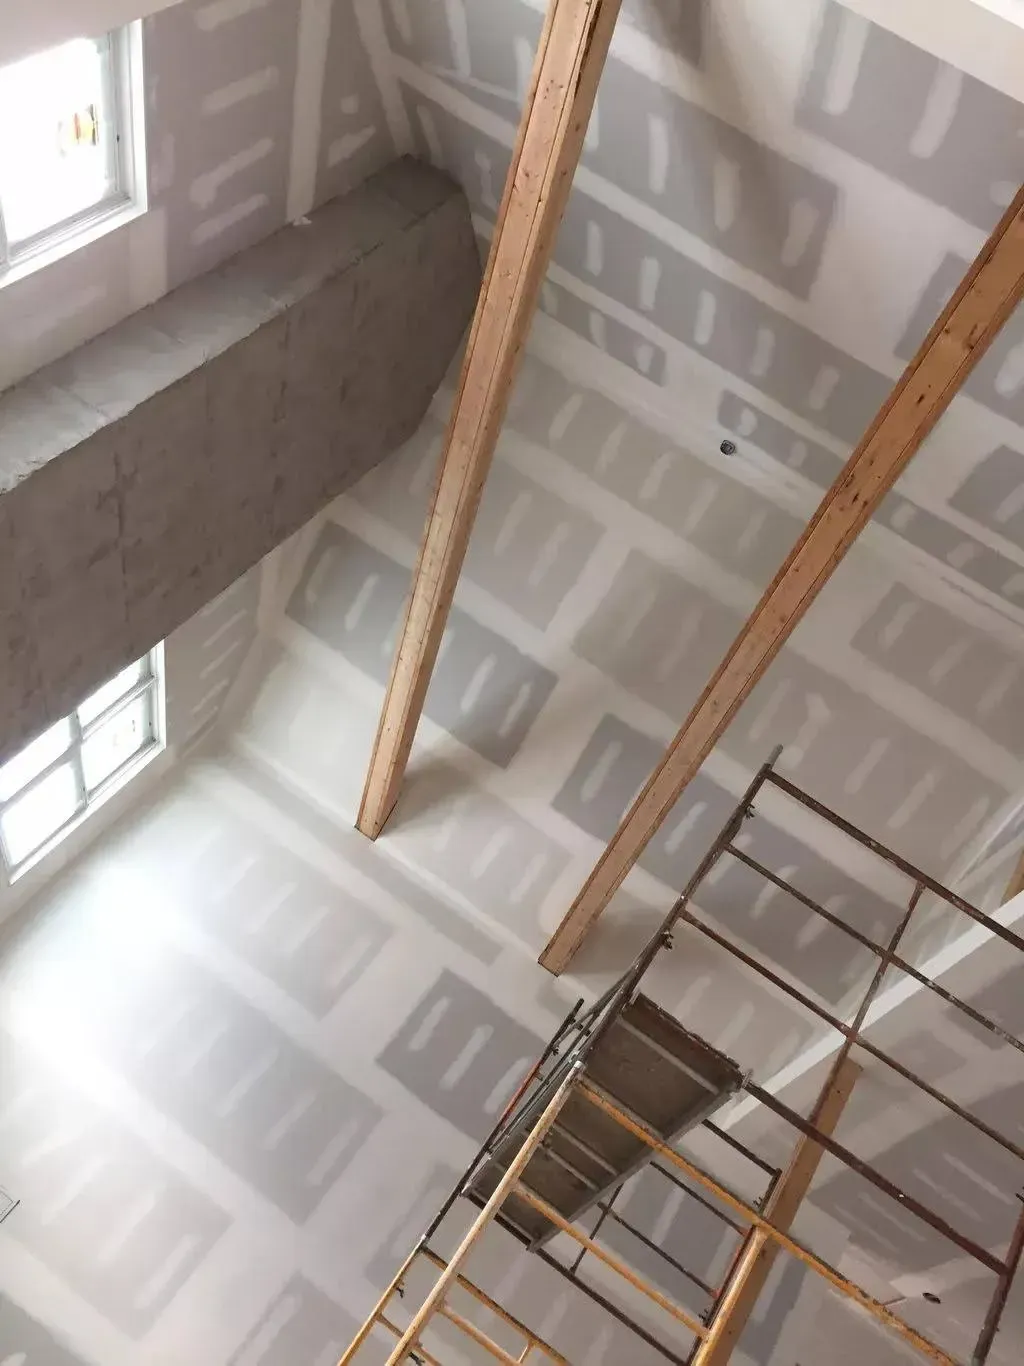
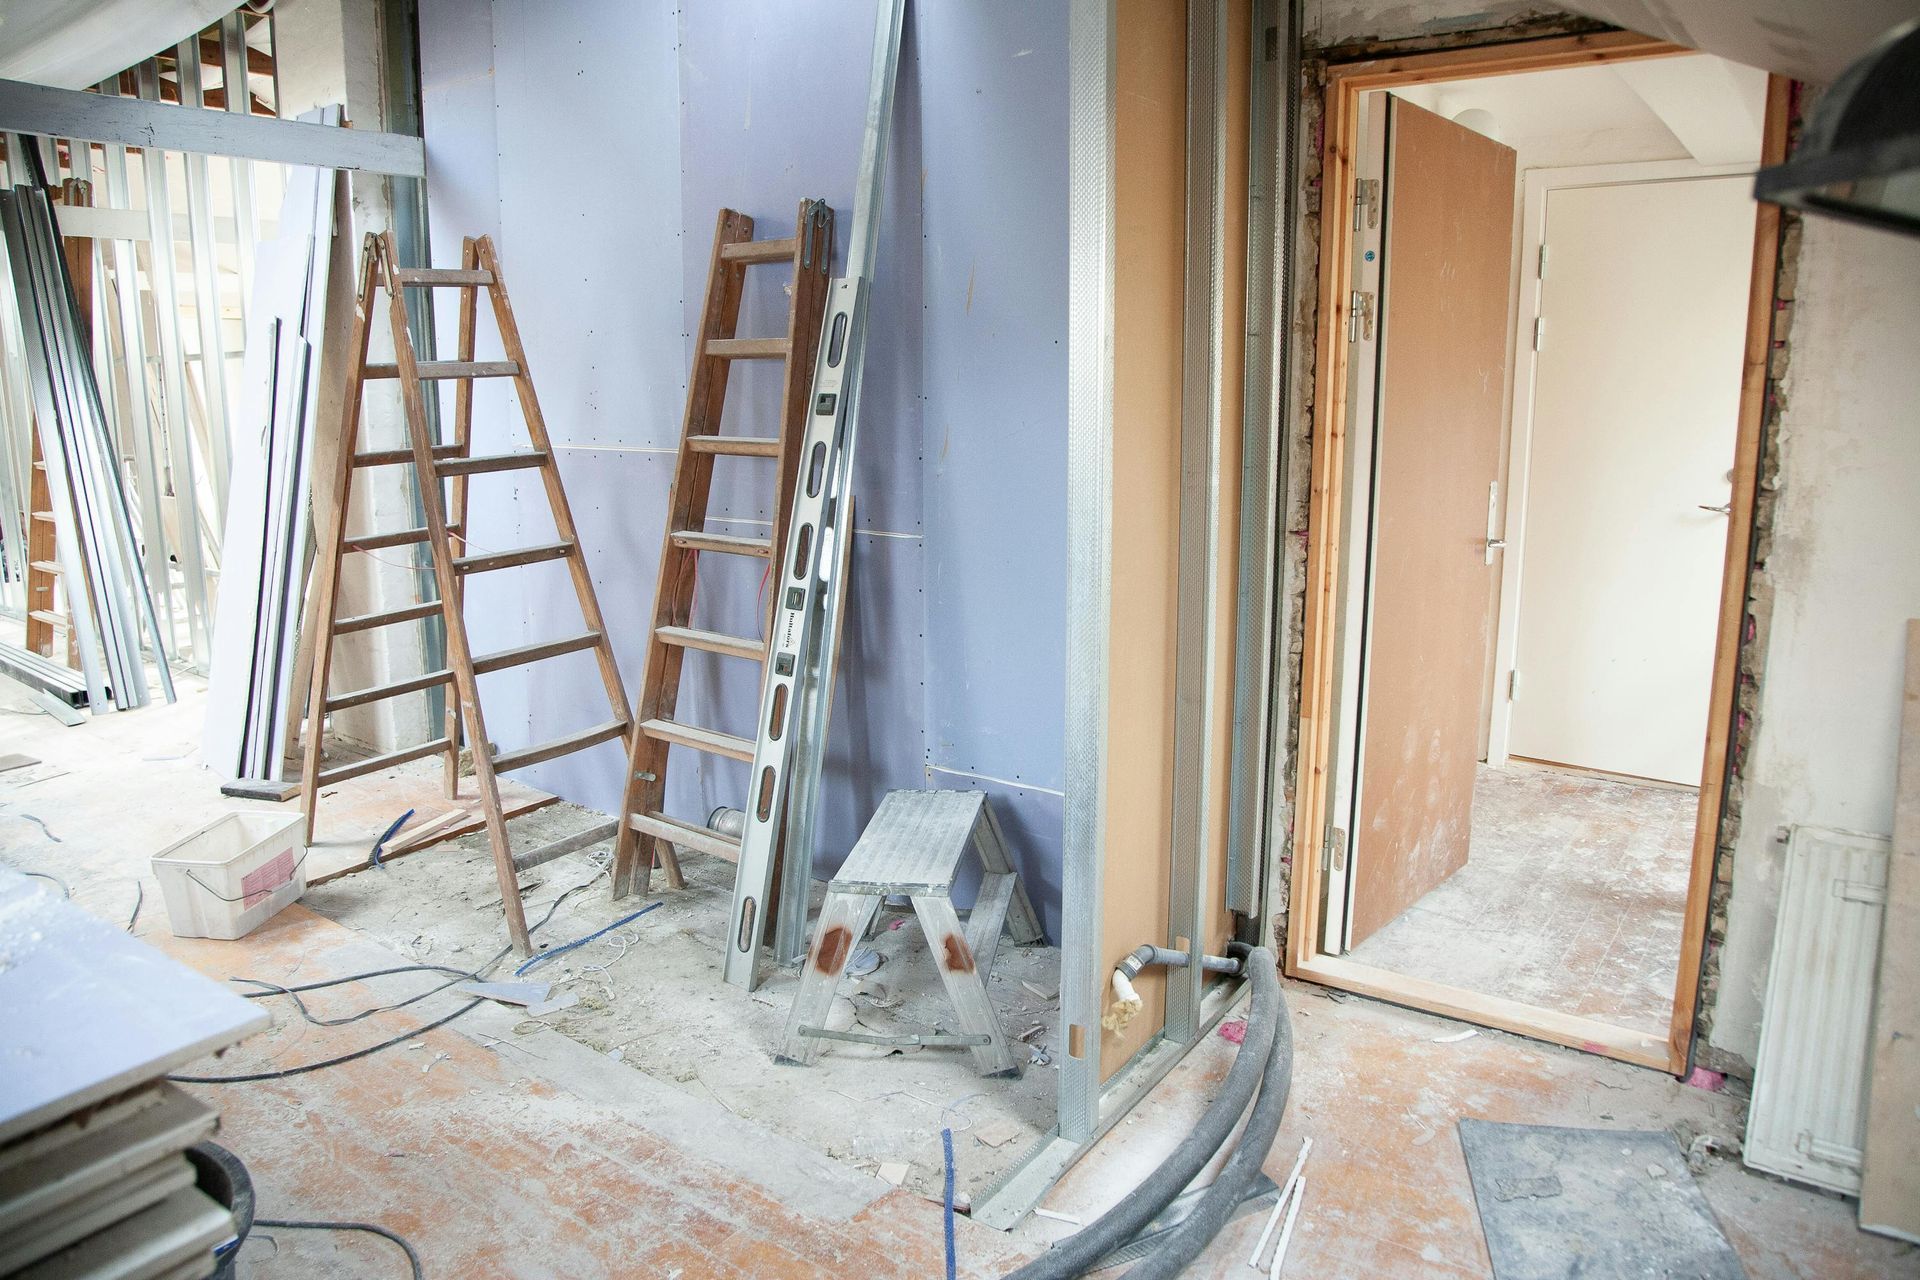
Tools and Materials Needed for Drywall Ceiling Repair
Thinking of tackling a DIY fix? You’ll need more than just hope and duct tape (please do not use duct tape). Here’s a list of essentials to have on hand for basic drywall ceiling repair:
Tools:
- Utility knife
- Drywall saw or keyhole saw
- Screw gun or drill
- Sanding block or sponge
- Taping knife (6 to 12 inches)
- Ladder or scaffold
- Dust mask and goggles
Materials:
- Drywall patches or replacement sheets
- Joint compound (a.k.a. mud)
- Drywall screws
- Drywall tape (paper or mesh)
- Primer and ceiling paint
If you’re dealing with major sagging or large holes, it might also require wood bracing or backing supports to anchor new drywall in place.
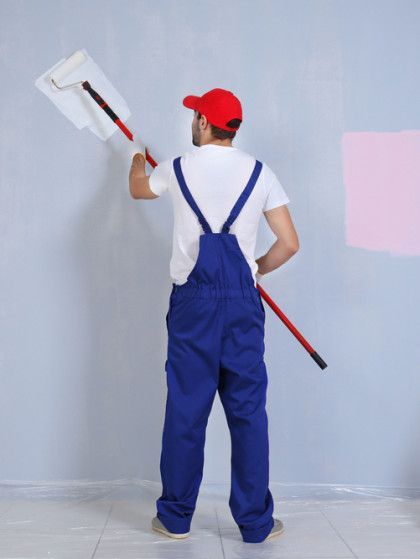
Quick tip: Don’t skimp on prep. Sanding, cleaning, and priming go a long way toward making a ceiling repair disappear instead of scream “I was patched.”
Step-by-Step Guide to Fixing Common Drywall Ceiling Problems
Let’s walk through how a pro would approach different types of drywall ceiling repair. Not every fix is DIY-friendly, but here’s what the process usually looks like.
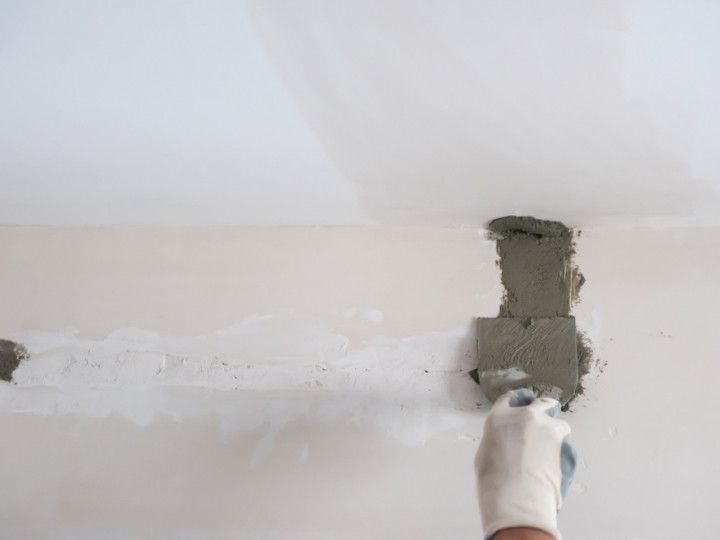
1. Fixing Cracks
- Score the crack with a utility knife to remove loose edges.
- Apply mesh or paper tape over the crack.
- Spread a thin layer of joint compound over the tape and feather out the edges.
- Let dry, sand, and apply a second coat if needed.
- Sand again and paint to match.
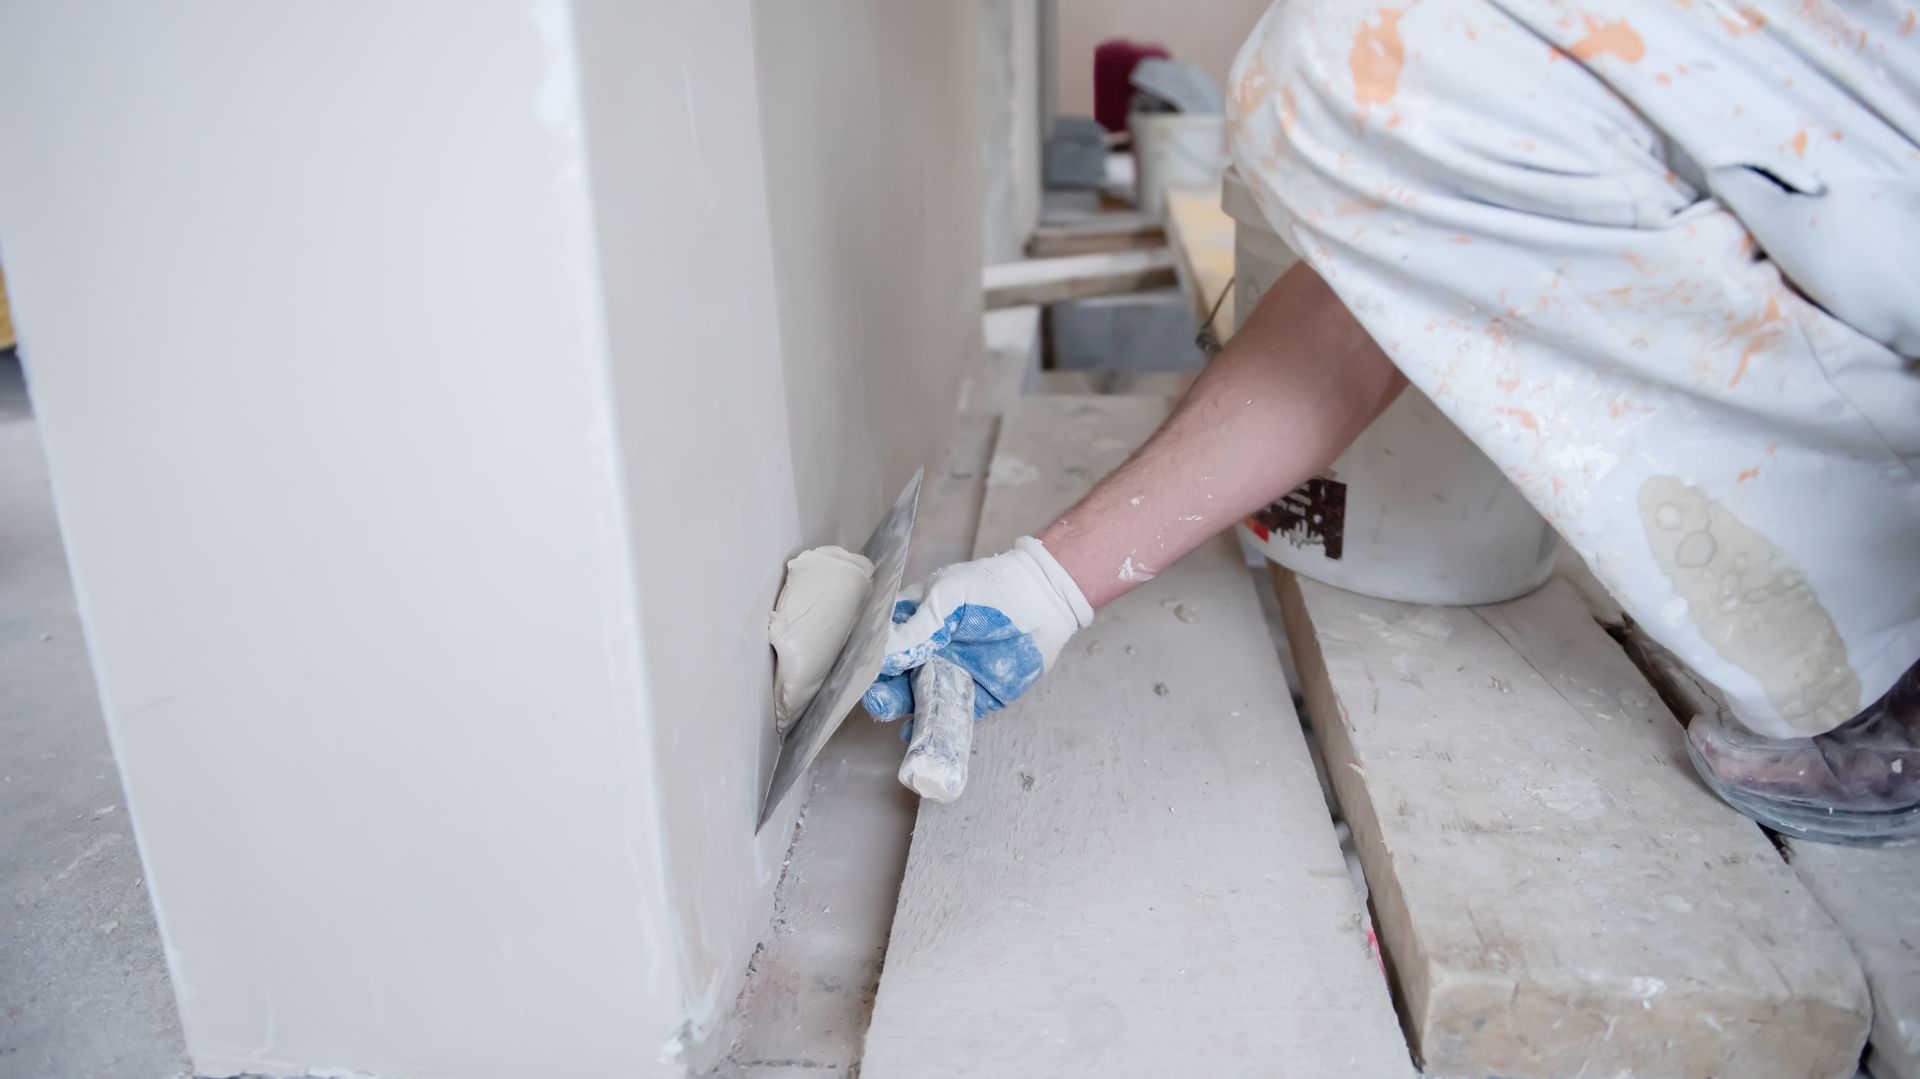
2. Patching Small Holes
- Cut out a clean square or circle around the hole.
- Install a drywall patch with screws (use backing if needed).
- Tape the seams.
- Apply joint compound in layers, sanding between coats.
- Prime and paint.
3. Repairing Sagging Areas
- Remove damaged drywall carefully.
- Check for moisture damage or structural issues.
- Install new drywall with proper screw spacing and secure backing.
- Tape, mud, sand, and finish as usual.
4. Dealing with Water Damage
- First, fix the leak. Always.
- Remove wet or moldy drywall immediately.
- Replace with fresh drywall and follow standard finishing steps.
When in doubt — especially with ceilings — it’s OK to call in the pros. You’ll thank yourself the next time you’re not lying on your back, covered in dust, holding a trowel in one hand and your patience in the other.
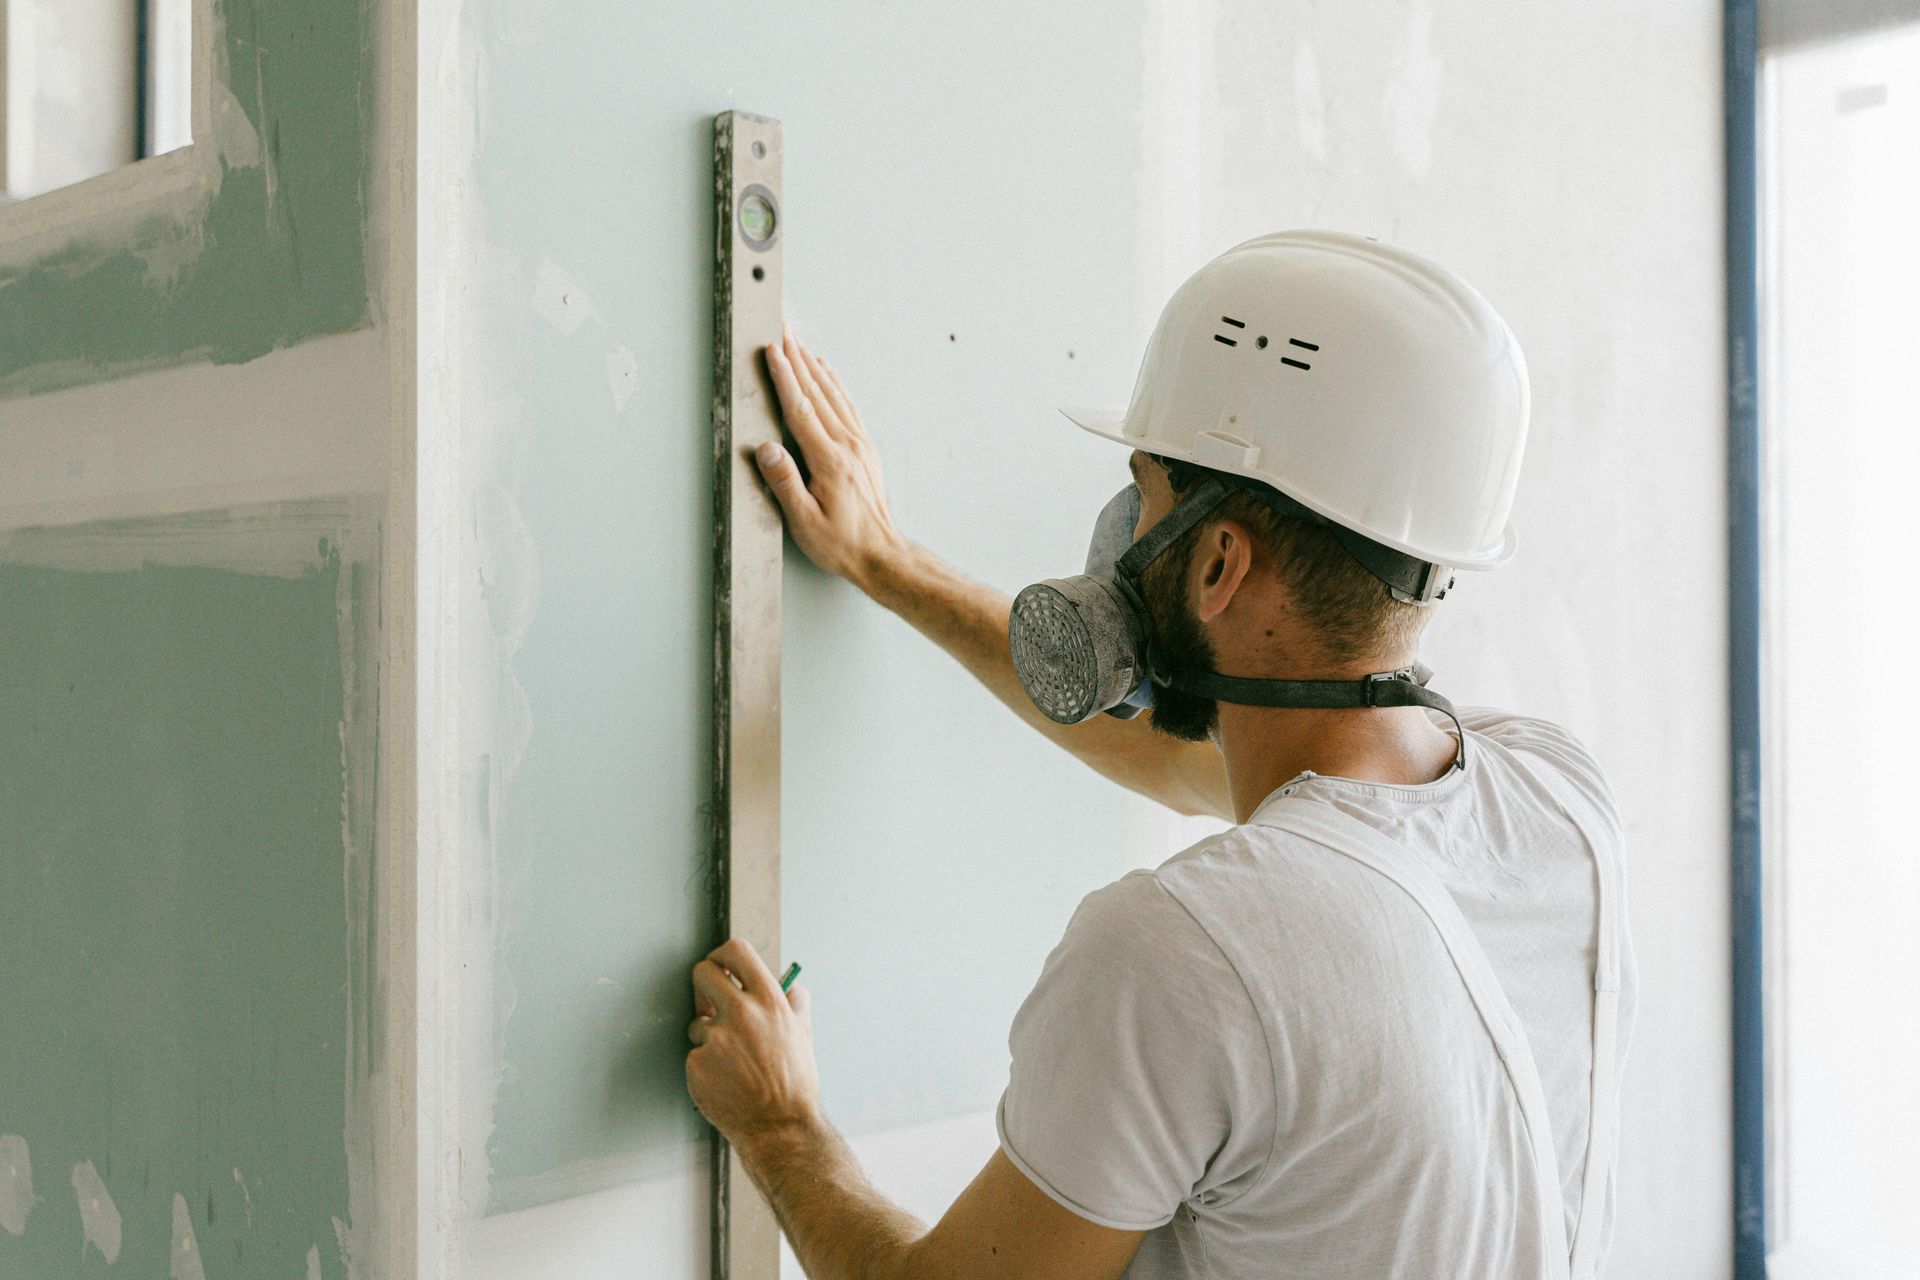
Why Hiring a Pro for Drywall Ceiling Repair Is Often the Better Move
Ceiling work isn’t just above your head — it can be over your skill level, too. That’s why many homeowners opt to bring in professionals for drywall ceiling repair, and here’s why that makes sense.
Pros Have:
- Experience: Knowing how to feather compound perfectly or cut in ceiling paint lines takes time.
- Tools: From lifts to sanding vacuums, they have gear that makes the job cleaner and faster.
- Speed: What might take you a weekend takes them a few hours.
- Clean Finishes: Blending a repair so it’s truly invisible? That’s where pros shine.
Plus, let’s be honest: lifting drywall sheets overhead and holding them in place is basically CrossFit. Save your back. Call someone who does it every day.
Call Wendell Barco Plastering for Expert Drywall Ceiling Repairs in Portsmouth, VA
Your Ceiling Called — It Wants Wendell Barco Plastering on the Job
When your ceiling looks more like a topographical map than a smooth surface, it’s time to take action. At Wendell Barco Plastering, we specialize in drywall ceiling repair that gets your home looking fresh, clean, and structurally sound again. Whether it's cracks, sagging, holes, or mystery spots that won’t go away, we’ve seen it all — and fixed it all.
Serving
Portsmouth, VA, and surrounding areas, our team brings years of hands-on experience, a strong work ethic, and attention to detail that’s tough to match. We also offer
drywall installation,
plaster services,
interior painting, and more. Call us today at
(757) 935-7297 to get a free estimate or schedule a ceiling-saving appointment.
FAQs
How much does drywall ceiling repair cost?
It depends on the size and extent of the damage. Small cracks and holes might cost under $200, while large patches or sagging repairs could go up to $1,000 or more.
Can I paint over ceiling cracks without repairing them?
You can, but they’ll almost certainly come back — and probably look worse. Proper repair is always the better route.
How long does it take to repair a drywall ceiling?
Most minor repairs can be done in one day. Bigger jobs that require drying time between coats may take 2 to 3 days.
What type of drywall is best for ceilings?
Half-inch thick drywall is standard, but in areas with high moisture (like bathrooms), moisture-resistant or mold-resistant drywall is recommended.
Will the repaired area match the rest of my ceiling?
If done correctly — especially by a pro — yes. Paint matching and feathering techniques help blend the patch seamlessly.
SHARE THIS ARTICLE
READ OUR RECENT POSTS